Connemara Catamarans
Workshop and Table
Finding a suitable workshop in N. Ireland was not easy. With a 23 ft. beam she was going to be too wide for most of the local roads. The options were to build in sections, find a shed by the water or create my own space. In the end I went for the third option and rented a small holiday cottage on the shores of Strangford Loch with the use of a patch of a field on which to erect a polytunnel.
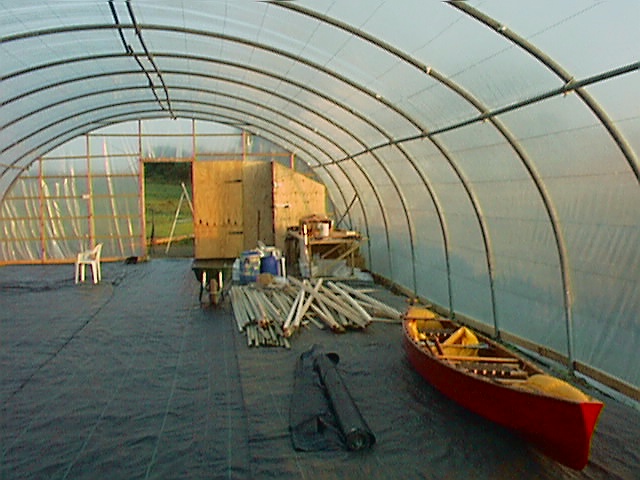
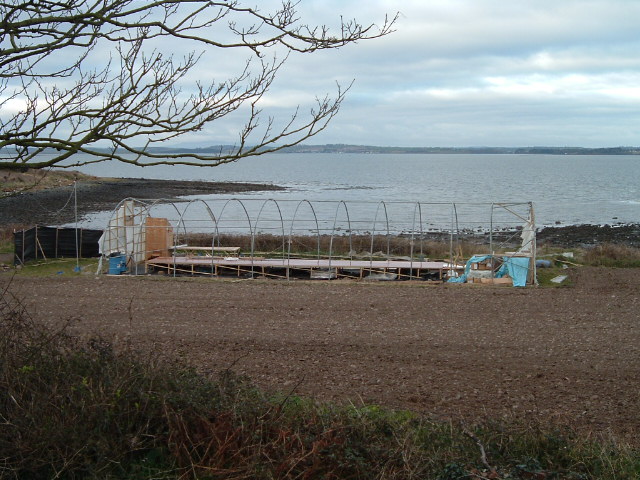
It was easy enough to find a second hand mushroom polytunnel and it took just a couple of weeks to erect. Am finding it satisfactory to work in but not ideal. The uneven floor makes it difficult to measure some jobs accurately and also for shifting heavy items around. It gets hot in sunshine (have put up a nylon sunscreen on the roof) and cools quickly. And it blew away over my first winter. But for a one-off project it is working well enough. Have found that for resin work my limit is about 8 months of the year - winter is just too cold and too much humidity.
The next job was to build a table for the panels. Kelsall designs are build by making flat full size panels on a worktop and then bending them to shape by appropriate use of grooves/dart cuts and the reduced fibreglass in areas where there are greater curves. Each panel is a sandwich of gel coat, glass, foam and glass. The table needs to have a perfect surface, waxed so it will release the gel coat. Building the 50ft x 8ft table was easy enough, the surface was more problematic. I surfaced it with Formica and got a kitchen fitter in to help me with the job. The usual method is to use contact adhesive to glue down the Formica but unfortunately we used PVA instead and over the coming months, particularly the winter, the Formica bubbled up and delaminated. However at the time it appeared satisfactory.
The next job was to do some tests and infuse the first panel. Was using resin infusion to wet out the fibreglass (more on this on the next page), the method is to roll out a layer of gel coat, then lay on the glass/foam/glass dry. The whole thing is then vacuum bagged and the resin drawn through using a vacuum. After some trial and error got my infusion process working and infused the first panel. All seemed to go well and with much relief I closed up shop for the day. However all was not well, there had been a leak through the table and a large section of the bottom of the panel had not been infused. The cause of the problem was the joins in the Formica, I had filled the cracks with plasticene and taped over with packing tape. Unfortunately the resin had reacted with the tape and lifted it, allowing air to get in - a problem that had not occured on any of my test pannels. It was to be another 8 months and Ł1200 in materials before I successfully infused a panel, in the end I resurfaced the table using beta boards (used by construction builders for shuttering boards to pour concrete) - biscuit jointed together and the joins sealed with epoxy.
In retrospect I think I started working with the infusion process with insufficient understanding or experience of how to make it work. Derek reports that his recommended procedure has evolved since this time and can be contacted for the latest advice/information.
Home
Design
Model
Workshop and Table
Infusion
Assembling Hulls
Hull Bulkheads
Bridgedeck Floor
Superstructure
Completing shell
Interior
Cost and Time Estimates
Suppliers
LInks

My new home, pity they forgot the central heating ...


The potato field - yes, this is Ireland !
Polytunnel takes shape.
Polytunnel after the storm of winter 2003. This one has my Formica surfaced table.
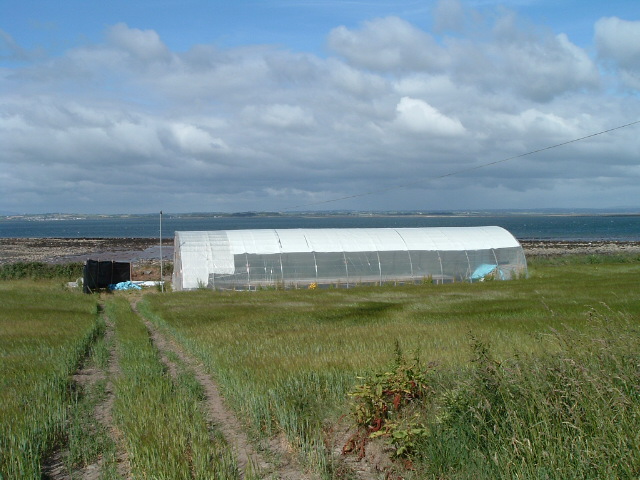
Polytunnel Mark II, Spring 2004, in the barley field - no free spuds this year !
Note the geese on right of picture.
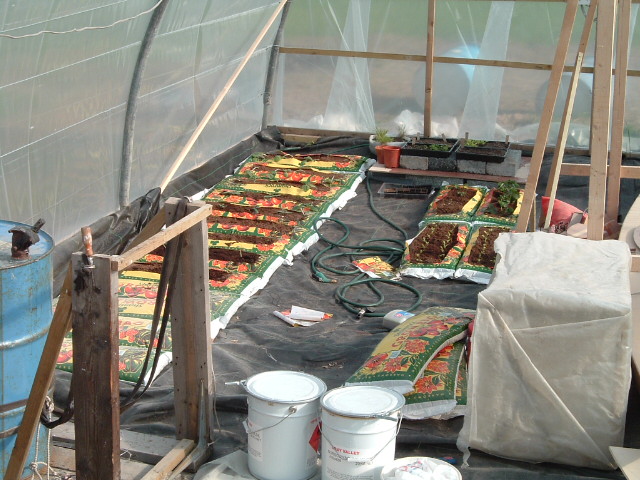
Spring 2005. The Polytunnel got blasted again in the winter of 2004 so took the opportunity to extend it when it was being rebuilt. Some room for a vegetable patch - perhaps I could patend the idea !