Connemara Catamarans
Assembling the hulls
Having made the four main hull panels the next stage is form them into the two hulls. The panels are grooved lengthways and dart cuts made along the keel line so that they will bend to the right shape. I did most of this work on my own and had to rig up all sorts of pulley systems to flip the panels over and move them around the workshop - a 150kg, 12m panel can be an unwieldy.
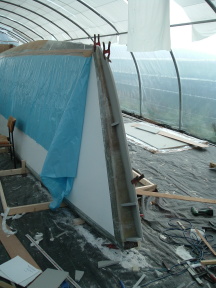
A pair of the panels are set up on edge face to face, keel line to the top. A metal T bar (the T bar is two lengths of 20mm square section steel with ties in between them - 25mm would have been better as it would have overlapped the top edge of the fibreglass panels better) is set along the keel line and held into place with cable ties. The bottom of the panels are then spread out to the appropriate hull width, making an A shape. The T bar is pulled down with rachet ties bringing the hull into shape. The dart cuts make a number of tongues in the panel, to get these to line up smoothly some battens were screwed down to the hull.
This job took two of us about a week to get everything into shape. We had particular problems at the bow and stern where the some of the panels simply would not bend in exactly the same way - I think the likely cause of this is some resin flooding when I was having problems with the infusion process. The result is that my hulls are not perfectly symmetrical however the differences are cosmetic rather than significant.
Next the hull is glassed with CSM from the inside to hld it to shape, the T bar removed, and the outside glassed. We put an extra layer of kevlar along the keel line for extra strength. The bow at this stage is an A shape. I finished off by filling in with a sheet of foam and glassing over. Then building on a bow shape in foam, shaping as desired, and glassing over and finishing in kevlar. The result is an expendable bow section in case of serious collision.
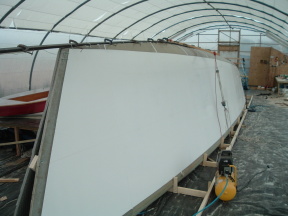
Fairing and sanding came next, it took about 8 man weeks to fair the two hulls. I started off using resin/microballoons but later found an excellent fairing compound, Poly-Fair, which cured in minutes and was easier to sand. The pictures show some lines down the side of the hulls, this was from the joins in my table which weren't perfect however it only took a few hours to clean up each panel. The areas that took most time were around the tongues along the keel line which were not just quite level, the bow which needed shaping and the line along the hull where more glass had been added after shaping.
Home
Design
Model
Workshop and Table
Infusion
Assembling Hulls
Hull Bulkheads
Bridgedeck Floor
Superstructure
Completing shell
Interior
Cost and Time Estimates
Suppliers
LInks
The T bar in shape and pulled down from the inside. Note the unfinished bow
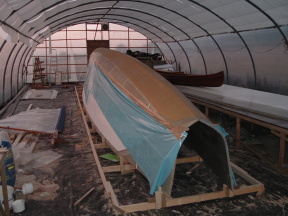
Glassing the keel. The yellow is the kevlar.
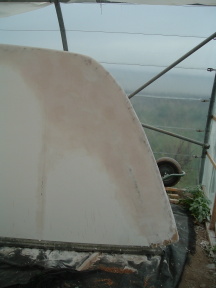
Shapingup and finishing the bow. A bit of freehand sculpture !
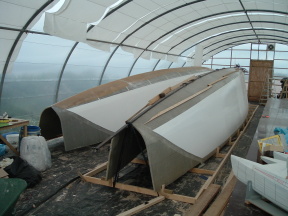
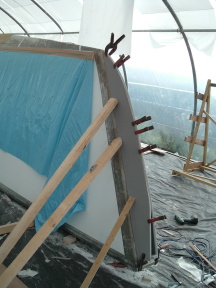
Showing the battens on the second hull holding the tongues level. Note the triangular section at the stern that will later be cut off.
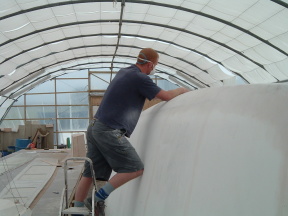
Fairing and sanding and fairing and sanding and fairing and sanding and ...... This is Andy, my Aussie sanding professiando.
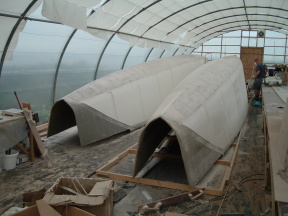
This was where we finished at the end of Summer 2004. I prudently left the hulls upside down and it was just as well as we had some of the heaviest storms in memory and the polythene blew away again !
This is where work stopped at the end of October 2004.